Making and Enjoying Maple Syrup
Everything you need to know about how maple syrup is made, and how to enjoy your maple syrup!
Maple Syrup - the Basics
Maple syrup is made when the sap from sugar maples (Acer saccharum), red maples, and black maples is boiled down into a syrup. The sap begins at 2% sugar levels and is boiled down until it is 66% sugar (or 67% here in Vermont!). This means that it takes 40 gallons of sap to produce 1 gallon of maple syrup.
Although there are different kinds of maple trees all over the United States, maple syrup can only be made in certain parts of the country. Sugar maples are native to the northeastern part of the U.S. and the southeastern part of Canada - this is where most of the maple syrup in the world is made.
Sugaring season begins in late winter when we start setting taps into our trees. Eventually, as winter turns to spring, the sap begins to flow. Ideal conditions are cold nights with a hard freeze, and warm days that coax the tree closer and closer towards budding. Once the trees start to bud, sugaring season is over.
Tapping the Trees
We start tapping trees in late January or early February. Because we are on a mountain-top with north-facing slopes in our sugarwoods, we are one of the last farms in Vermont to sugar. Typically the season starts in mid- to late-March or early April, and runs for three weeks.
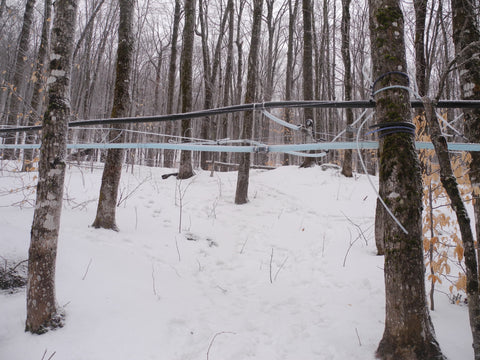
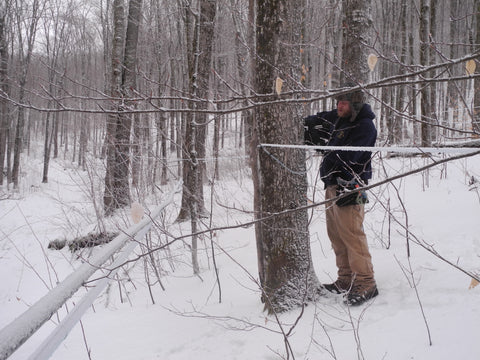
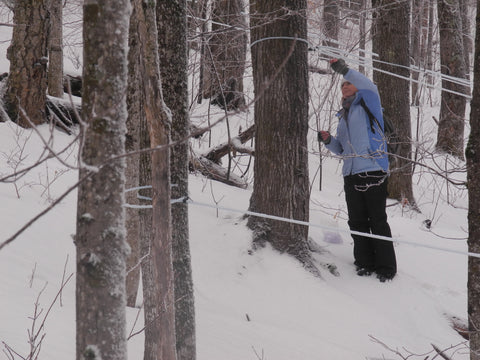
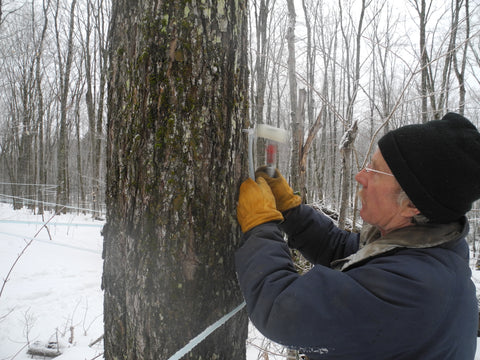
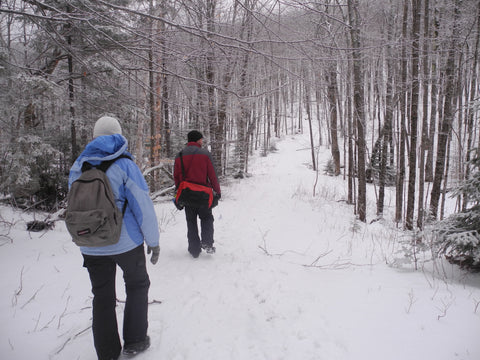
Tapping is a full-time job for several weeks. In low-snow years we can just walk through the woods, but when the snow is deep we use snowshoes. Using a cordless drill we make a hole in the tree, then connect a tap to the pipeline and gently hammer it in to the tree. As soon as the tap is placed in the tree, the tree will begin to heal around the hole, so tapping has to happen just before sugaring. And each year the hole needs to be in a different place to prevent long-term damage to the tree. We never tap a tree with a smaller than 8" diameter as this could also do long-term damage. As much as maple syrup production has evolved and become more modern, we still need to tap each tree by hand, covering every inch of our sugarwoods by foot.
Even after the trees are tapped, we find ourselves walking the lines in the woods, making sure there aren't fallen trees on the lines or little holes nibbled by squirrels. Deer can trip on lines and wreak havoc, and even worse is a moose that bumbles through, dragging lines behind. Of course, when the sap begins running the sugarhouse becomes the focus!
The First Boil
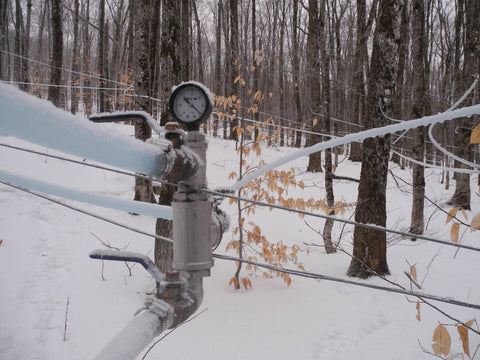
Once the sap begins to flow, we wait until there is enough sap collected to fire up the evaporator (fill the arch with wood and start the fire). We need around 500 gallons of sap to fill the evaporator and do our first boil.
Sap moves from the bulk tank through the reserve-osmosis (RO) machine -- this machine removes about half of the water from the sap, increasing the sugar content of the sap and greatly reducing boiling time, saving wood and energy. This sap moves into the concentrated sap tank, then into the steamaway, and then into the evaporator. The steam produced by the boiling sap in the evaporator pre-heats the sap waiting above in the steamaway so that it's ready to boil when it moves down into the evaporator. The steamaway also captures the hundreds of gallons of distilled water that are boiled out of the sap so we can use this later for cleaning.
Now the sap is really concentrated as it moves into the last stage, the open flue pan. Steam rises and fills our faces, glasses steam over and the dry winter air outside gives way to a sauna-like atmosphere inside. The scent of maple fills the air, and every 7 minutes a timer goes off, reminding us to open the arch and stoke the fire.
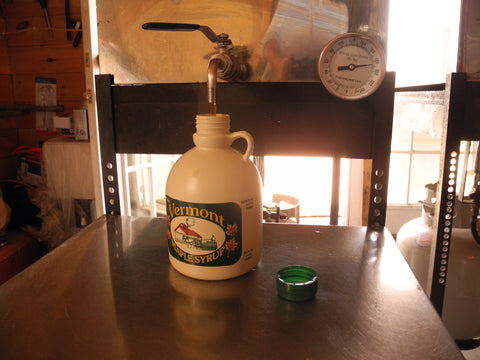
As the sap moves along the flue pan, it moves toward the spigot at one end. Travis or John draws the maple syrup, testing its density to see if it has reached that 67% sugar level. Once its ready, the maple syrup is hot-packed directly into 40-gallon stainless steel barrels. One barrel down, 40 or so to go!


Grading Maple Syrup
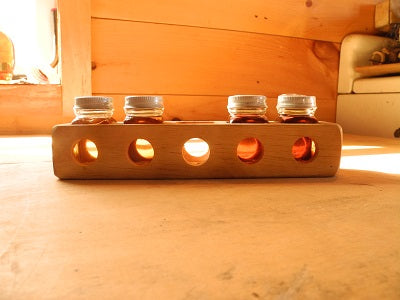
As each barrel is filled, we siphon off a small sample and carefully label it with the barrel number. Once the season is over, we sit down and start tasting. We make notes about each syrup - what color is it, what is the flavor profile, what is the mouthfeel? Unlike wine tasting, we never spit out our samples!
The color of each sample is what determines the grade for that barrel of maple syrup. Once upon a time, the Vermont grading system was Vermont Grade A Fancy, Vermont Grade A Medium, Vermont Grade A Dark, and Vermont Grade B (Grade C existed, but was only available for commercial use). Recently these guidelines have shifted so that all maple syrup is labeled as a variation of "Grade A", so that consumers do not perceive one grade of syrup as better than another. "Grade A" is broken down into four categories: Golden Color with Delicate Taste, Amber Color with Rich Taste, Dark Color with Robust Taste and Very Dark Color with Strong Taste (read here for more info).
The trick is that these grades correspond only to color, not to flavor. While flavor profiles do frequently match colors (lighter maple syrup often has a lighter, sweeter flavor while darker maple syrups have more intense and caramel-like flavors), there is no guarantee that all maple syrups graded as Amber Color with Rich Taste will taste lighter and sweeter than all maple syrup graded as Dark Color with Robust Taste.
For us, we focus on making maple syrup that balances sweetness and complex flavor rather than focusing on what color our maple syrup is.
From Barrel to Box
Our maple syrup is packed directly from the barrel and into containers. We sell most of our maple syrup in plastic gallon jugs, but we also pack plastic quarts, pints, and half-pints, and glass jugs and glass maple leaves.
We hot-pack our maple syrup using stainless steel "hoppers" that gently bring the maple syrup to 185 - 192 degrees. Each gallon is weighed and then capped with an induction cap and sealed to prevent any contamination or leaks. Our gallon jugs are not the typical maple syrup jug; instead we have chosen to use squared-off food-grade jugs that fit perfectly into the shipping boxes, and also allow us to use our own Stannard Farm Vermont Pure Maple Syrup label.
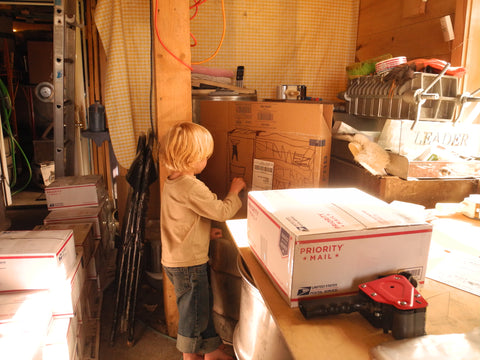
When we box up your maple syrup order, we pride ourselves on re-using any packing materials we have on the farm. So don't be surprised if you see styrofoam peanuts in one order, and repurposed newspaper in another. We cut up old cardboard for additional packing and shaping of the shipping box to ensure that your maple syrup arrives as safely as possible, short of us driving it to your door ourselves. And if you find a bit of artwork on some of the cardboard that is courtesy of James!

Storing Your Maple Syrup
Maple syrup is food! Like any real food, maple syrup can grow mold on the surface over time once the original packing seal is broken.* To prevent spoiling, after opening your syrup it should be refrigerated and consumed within 6-12 months. For gallon jugs, if you don't have room in the fridge, we suggest that you pour off a pint jar at a time for the refrigerator and freeze the jug - frozen maple syrup will last indefinitely. When frozen the syrup will become very thick and taffy-like and may even develop some large crystals, but once removed from the freezer it will thaw out enough to be pourable within 30 minutes. (Note: make sure to leave some space at the top of syrup containers when you pour out the cold syrup - maple syrup expands slightly as it warms and can break overfilled containers.)
Read about our on-farm practices here!